hammer.jsを使ってブラウザで上下左右のスワイプを検知する
var element = document.getElementById('swipeTarget');
var hammertime = new Hammer(element);

hammertime.get('swipe').set({
  direction: Hammer.DIRECTION_ALL,
  threshold: 1,
  velocity:0.1
});
hammertime.on('swipeleft',function() {
  moveNext('left');
});
hammertime.on('swiperight',function() {
  moveNext('right');
});
hammertime.on('swipeup',function() {
  moveNext('top');
});
hammertime.on('swipedown',function() {
  moveNext('bottom');
});
こんな感じのコードになった。
注意点
- $()だと動かなかった。document.getElementByIdを使う必要がある
- direction: Hammer.DIRECTION_ALLの指定が無いと上下の検知がうまくできなかった
react-native-elementでタブのアイコンを表示する
const TabBarIcon = (props) => {
  return (
    <Icon
      name={props.name}
      type="ionicon"
      color={props.focused ? hoge_color : fuga_color}
    />
  );
};
- フォントではなく画像を使いたい場合はImageを返す
<Scene key="home" initial component={HomeScreen} tabBarLabel='ホーム', icon={({ focused }) => <TabBarIcon name="md-home" focused={focused} />} />
https://infinitered.github.io/ionicons-version-3-search/
- アイコンのリストは上から表示する
ReactVRで目線で操作する機能を実装する
npm i --save react-vr-gaze-button
import GazeButton from 'react-vr-gaze-button';

render() {
  const image = this.renderImage();
  return (
    <GazeButton onClick={() => this.props.onGaze()} duration={1500}>
      {time => (
        image
      )}
    </GazeButton>
  )
}
これで1.5秒注視したら何かする処理が作れる
nuxtで始めるシングルページアプリケーション (その1: HelloWorld)
CLIのインストール
npm install -g vue-cli
プロジェクトの作成
vue init nuxt-community/starter-template hellonuxt
cd hellonuxt
 npm install
サーバーの起動
npm run dev
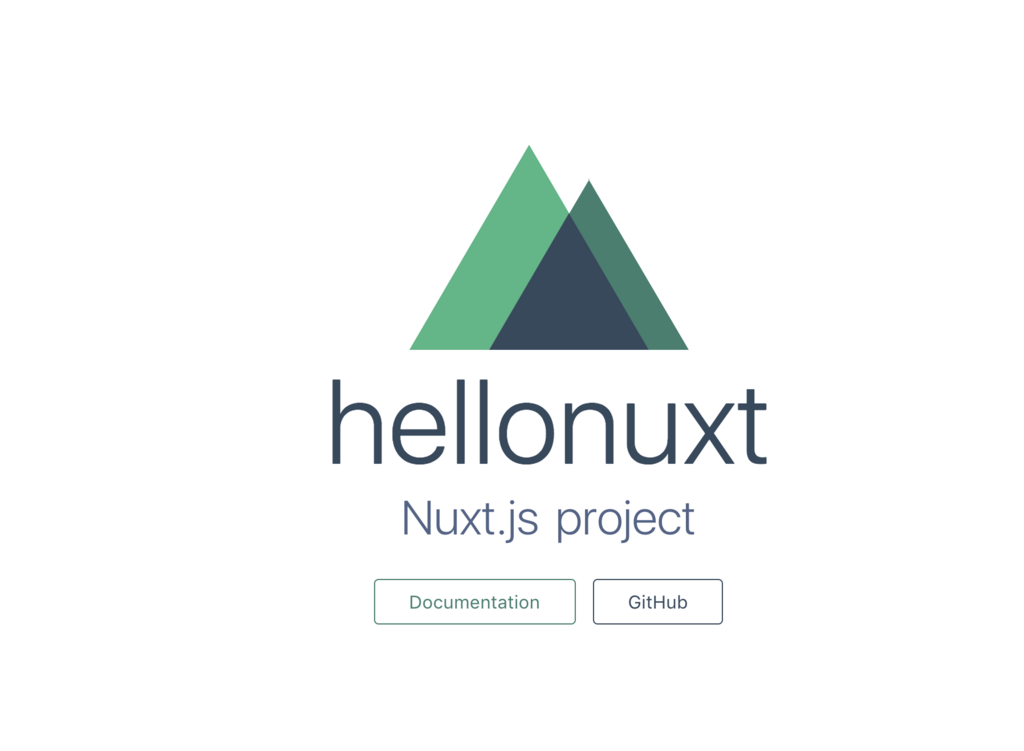
こんな画面が表示されればOK

Hello Worldを表示してみる
- pages以下にページを書いていくので
pages/index.vueを開いてHello Worldにテキストを変更してみる
  <section class="container">
    <div>
      <app-logo/>
      <h1 class="title">
        Hello World!
      </h1>
      <h2 class="subtitle">
        Nuxt.js project
      </h2>
      <div class="links">
        <a
          href="https://nuxtjs.org/"
          target="_blank"
          class="button--green">Documentation</a>
        <a
          href="https://github.com/nuxt/nuxt.js"
          target="_blank"
          class="button--grey">GitHub</a>
      </div>
    </div>
  </section>
pages以下の変更を監視しているので、すぐに見た目に反映される。
react-native-router-fluxでタブを実装する
  <Router>
    <Scene key="root">
      <Tabs key="mainTab" swipeEnabled={ true } animationEnabled={ false }>
        <Scene key="home" initial component={MainScreen} tabBarLabel='ホーム' />
        <Scene key="bookmark" component={bookmarkScreen} tabBarLabel='ブックマーク' />
      </Tabs>
      <Scene key="article" component={ArticleScreen} />
    </Scene>
  </Router>
こんな感じでうまく行った。スワイプで横遷移もできる。
react-native-router-flux v4 の実装7パターンをコードとGIFで眺める - Qiita
この記事は参考になった。
Laravelでキュー/ジョブの環境を用意する (DB)
前提知識
ジョブ: 何らかの処理
キュー: ジョブを並ばせる列
- 保存先をドライバーと呼ぶ
- DB, SQS, Redisと選べる
ディスパッチ: ジョブをキューに送ること
ワーカー: キューの中のジョブに対する処理するプロセス
キューを用意する
php artisan queue:table
php artisan migrate
今回はローカルのデータベースをキューの代わりに使う
ジョブを定義する
php artisan make:job SendReminderEmail
<?php

namespace App\Jobs;

use Illuminate\Bus\Queueable;
use Illuminate\Queue\SerializesModels;
use Illuminate\Queue\InteractsWithQueue;
use Illuminate\Contracts\Queue\ShouldQueue;
use Illuminate\Foundation\Bus\Dispatchable;

class SendReminderEmail implements ShouldQueue
{
    use Dispatchable, InteractsWithQueue, Queueable, SerializesModels;

    /**
     * Create a new job instance.
     *
     * @return void
     */
    public function __construct()
    {
        //
    }

    /**
     * Execute the job.
     *
     * @return void
     */
    public function handle()
    {
        //
    }
}
Route::get('/', 'PostsController@index', function() {
  $log = (new SendReminderEmail)->delay(10);
  dispatch($log);
  return 'ユーザー登録完了を通知するメールを送信しました。';
});
- 10秒後にSendReminderEmailインスタンスを実行するというジョブをキューに登録する
ワーカーの起動
php artisan queue:work
laravelでHello worldする
composerのインストール
php -r "copy('https://getcomposer.org/installer', 'composer-setup.php');"
php -r "if (hash_file('SHA384', 'composer-setup.php') === '544e09ee996cdf60ece3804abc52599c22b1f40f4323403c44d44fdfdd586475ca9813a858088ffbc1f233e9b180f061') { echo 'Installer verified'; } else { echo 'Installer corrupt'; unlink('composer-setup.php'); } echo PHP_EOL;"
php composer-setup.php
php -r "unlink('composer-setup.php');"
laravelのインストール
php composer.phar create-project --prefer-dist laravel/laravel myblog
php artisan --version
設定変更
.env
DB_CONNECTION=sqlite
config/app.php
timezone => 'Asia/Tokyo`
locale => 'ja'
モデルの作成
database/migrationsの最初からあるファイルは消しておく
php artisan make:model Post --migration
Schema::create('posts', function (Blueprint $table) {
  $table->increments('id');
  $table->string('title')
  $table->text('boby')
  $table->timestamps();
});
- カラムを指定する
php artisan migrate
- マイグレーション実行
データベース確認
sqlite3 database/database.sqlite
 .schema posts
.quit
インタラクティブにモデルを操作する
php artisan tinker
$post = App\Post();
$post->title = 'title';
$post->save();
App\Post::all();
App\Post::all()->toArray();
コントローラー作成
php artisan make:controller PostsController
public function index() {
  return "hello world";
}
routes/web.phpを編集
Route::get('/', 'PostsController@index');
サーバーを起動
php artisan serve --host localhost --port 8020
こんな感じで表示されればOK
